- Sign Up in Signals Pro, a software provided by Proteryx.
- Connect Broker: Connect a paper or a live account.
- Add a Signal Receiver: Get started by creating a Webhook Signal Receiver to the connected Broker.
- Configure the Signal Receiver Strategy: Create rules of operations for this particular Webhook
- Enable and disable Signal Receiver: To go Live, you must enable your Signal Receiver. Check it!
- Subscribe at least to free tier so you can send and receive Signals.
- Send an Alert to the Signal Receiver: Send us an alert webhook and execute a trade.
- Upgrade to a paid subscription plan to increase your daily quota.
- Check FAQ: Check our Frequently Asked Questions for more details.
Let's get Started 🚀
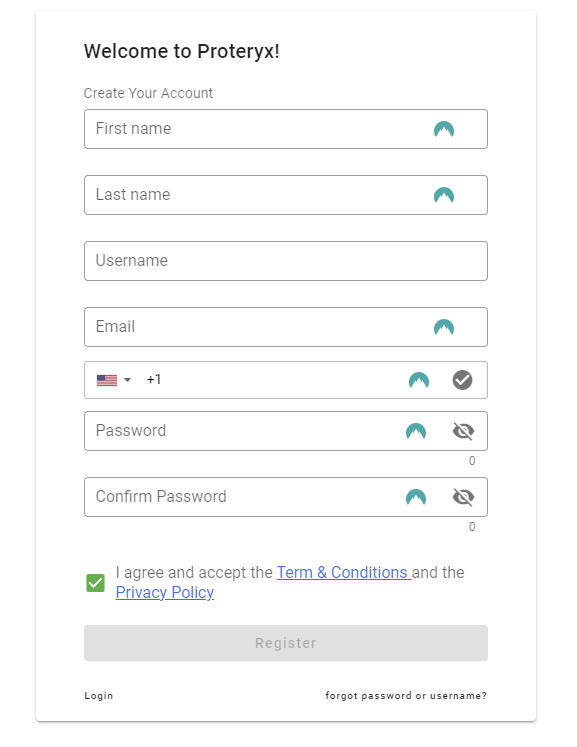
Step 1: Signing up in Proteryx
Given that Signals Pro is brought to you by Proteryx, the first step involves completing the sign-up process on Proteryx. In five simple steps, you can onboard yourself to Signals Pro.
For more information, please refer to the documentation on Signing up.
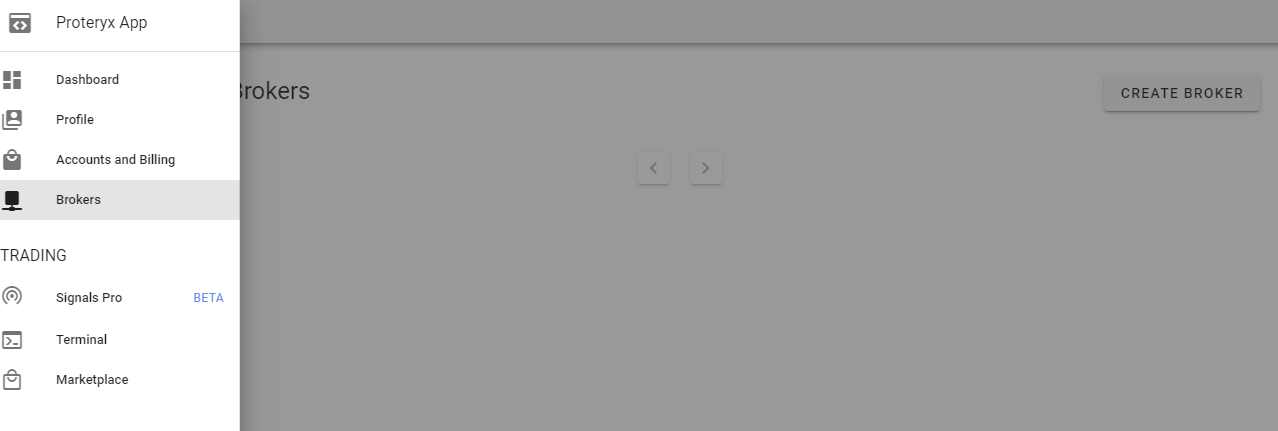
Step 2: Connect Broker: Connect a paper or a live account.
After Signing up, you will be required to connect the exchange or brokerage where you want the incoming alerts from the Signal Source to be automatically converted into executed orders. In the Menú look for "Brokers"
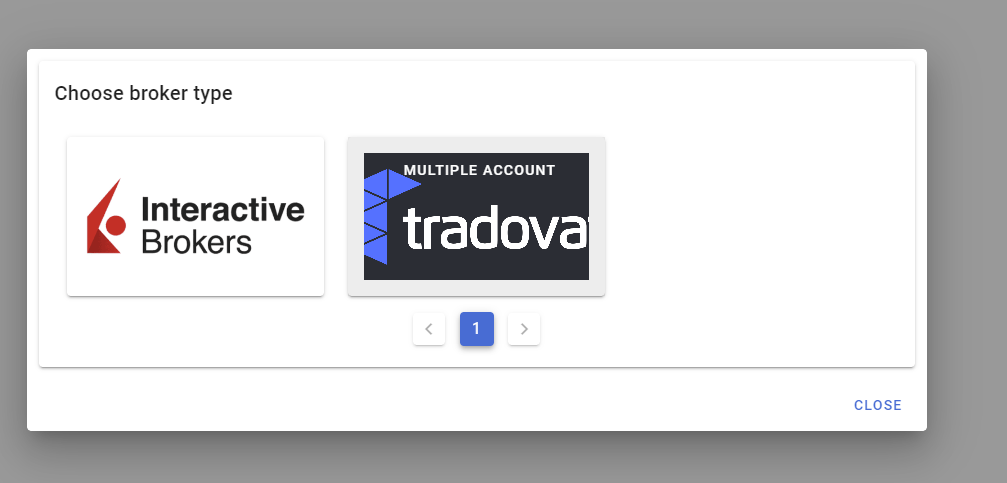
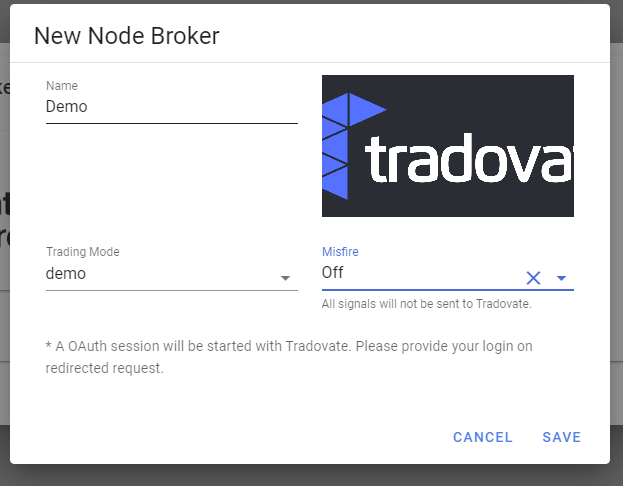
You will be redirected to login via OAuth
After connecting the exchange or broker of your choice, all the different types of accounts (whether live or paper accounts) created under the selected broker or exchange shall be fetched automatically.
You will be required to select the account at your connected broker or exchange where you want your trades placed.
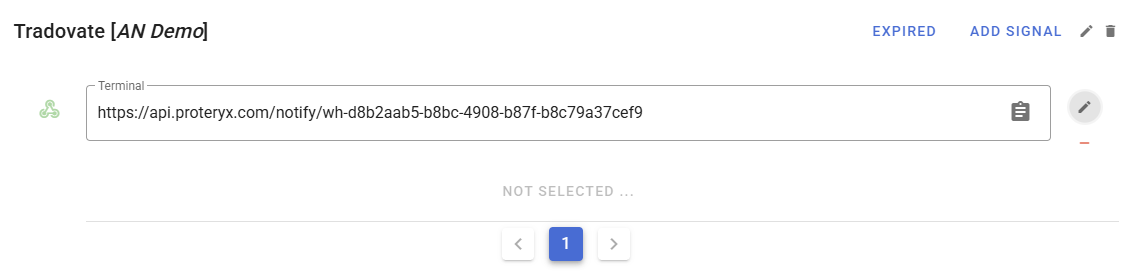
Step 3: Let's Create a Signal Receiver.
Imagine a signal receiver as a special group for your trading accounts. 👥 When you want to trade based on a signal (like an alert from TradingView 🔔), you'll use this group.
Here's how to create one:
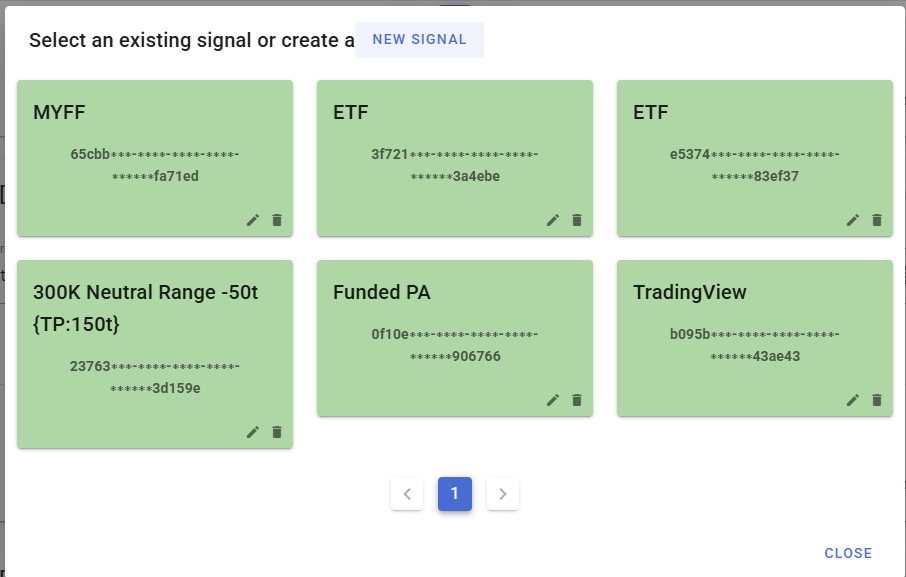
- Find the "Add Signal" button: Look for it within your broker's settings. 🔍
- Give your receiver a name:
- Choose the accounts for this group: Select the accounts you want to include. ✅
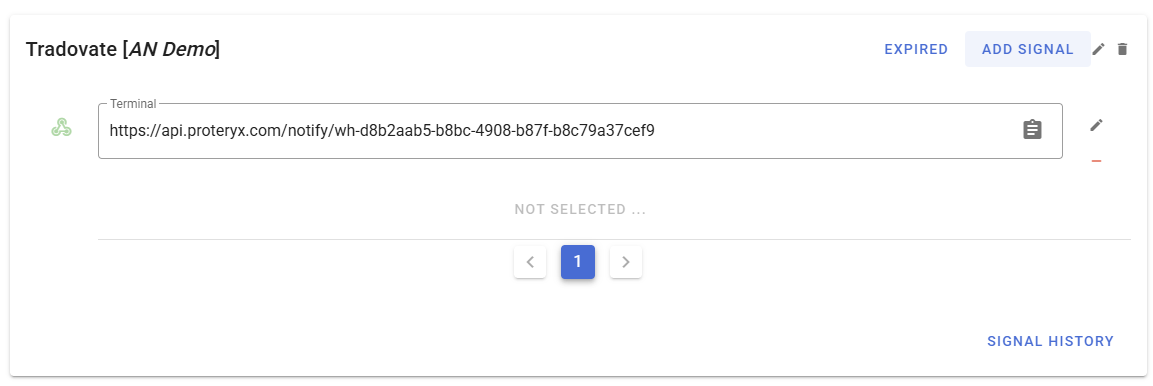
That's it! You've successfully created a signal receiver. Now, when you trigger a signal (like an alert from TradingView), Proteryx will automatically execute trades on the accounts in your "Tradingview" receiver. ⚡️
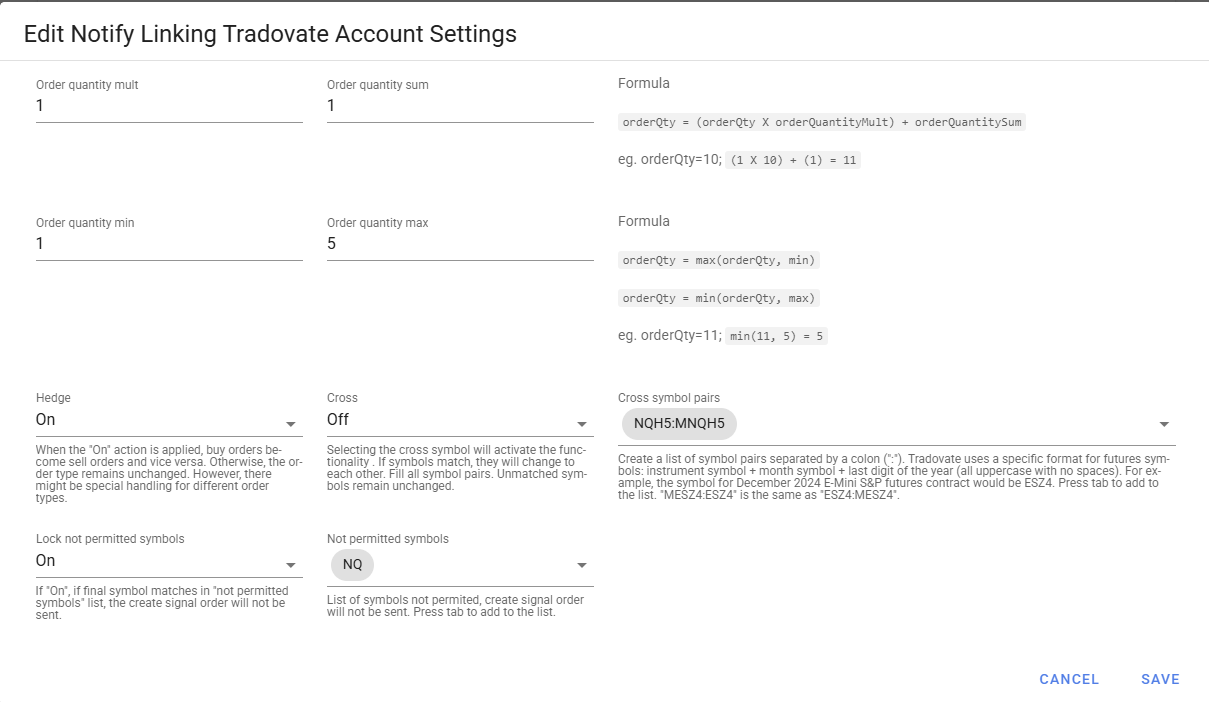
Step 4: Configure the Signal Receiver Strategy.
This step lets you customize how your signals turn into trades for each group. Think of it as adding special instructions to your trading plan. 📝
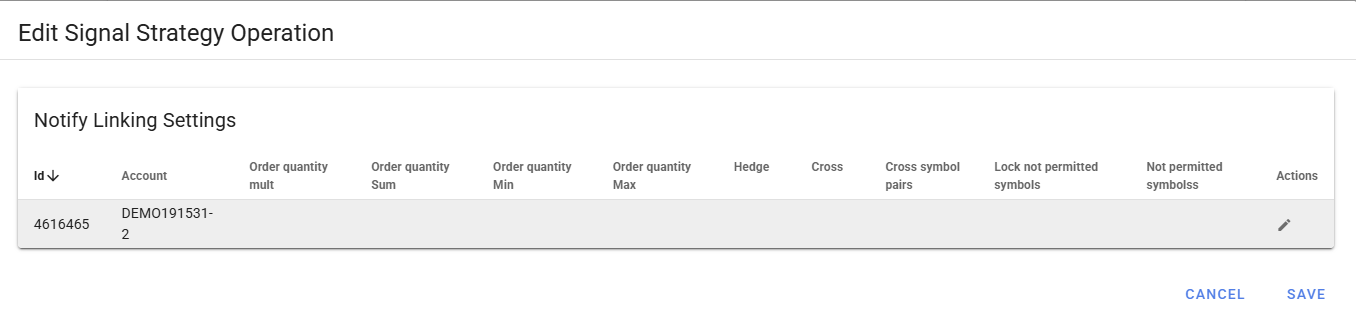
Here are some options:
- Adjust Order Quantity:
- Multiply: Increase or decrease the order size by a multiplier.
- Set Minimum/Maximum: Ensure your order size stays within specific limits.
- Hedge Mode:
- "On": Automatically convert buy orders into sell orders and vice versa.
- Cross Trading:
- Example: "MESZ4:ESZ4" - If a signal for MESZ4 appears, it will automatically trigger a trade for ESZ4 (and vice versa).
- Symbol Restrictions:
- "Micro" Contracts Only: Prevent trades on non-micro contracts.
This is optional, but it gives you powerful control over how your signals are executed. You can experiment with these settings to find what works best for your trading style. 📈